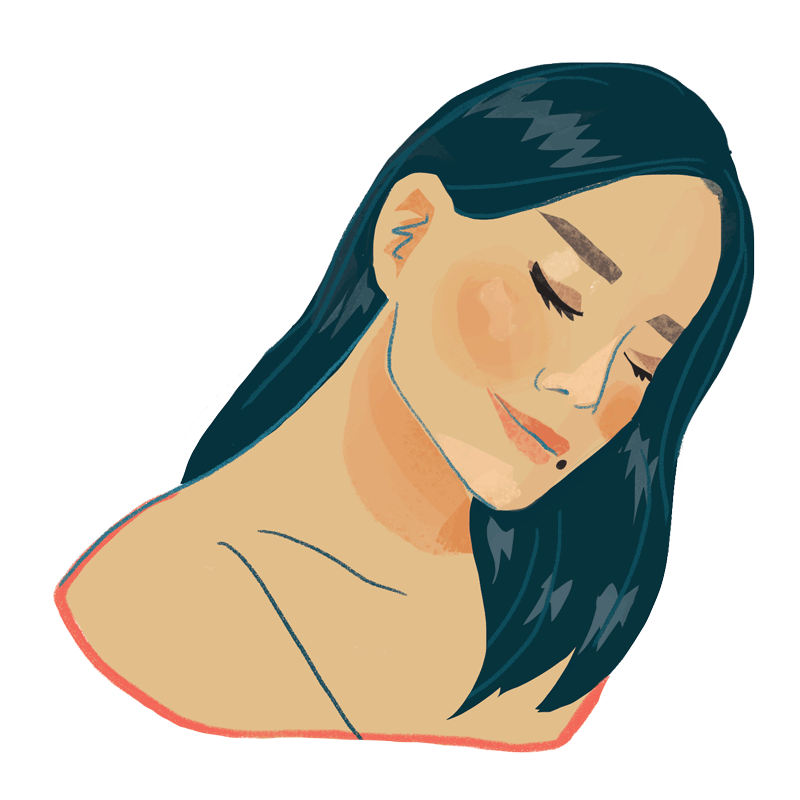
DIY: My Wedding Dress
Sometimes I cannot believe I made my own wedding dress.
Ever since my earlier days on Youtube I had chewed on my decision regarding my wedding dress. There were so many brave people who went before me in making their own gowns and documented their experience with caring detail. I'm thankful for the honesty I found! It was always a nice idea that I could wear something made just for me by skilled professionals in their field, but as I started dating Dan, started talking about marriage, got engaged, and began wedding planning I decided this was something I needed to try.
Below I'll begin with all the measurements I used, then share some of the hardest and most memorable learning points, and close with the finished video and dress.
The top: a halter with dainty straps and princess seams
The top half will vary significantly depending on individual shape and body size, so my best advice is to seek out a dress, corset, or bodysuit pattern as a starting point.
The bottom: an A-line floor-length tulle skirt with no train
Lining layers: 100 cm tall, cut to make a full circle skirt (see circle skirt calculator)
Crinoline skirt: 30 cm tall, cut to make a full circle skirt
Crinoline tiers: five strips that were 15 cm tall, and 150 cm, 175 cm, 200 cm, 250 cm, and 300 cm wide
Tulle layers: 100 cm tall, cut to make a full circle skirt
The assembly: some helpful links to guide you
1. My video on planning my wedding dress
2. Where I got my fabric
3. Invisible zipper tutorial
From what I've experienced, the main stress and exhaustion from making your own wedding dress comes from two factors: cost of materials, and tediousness of work. Let me explain.
White formal fabrics are often more expensive than coloured fabrics of the same construction, and bridal fabrics have noticeable changes in quality as prices go up. Not to mention the fact that beading, sequins, embroidery, and many other accents are done by hand, which automatically raises the cost of the finished fabric. In addition to the price of the fabric, the quantity of fabric needed is frequently underestimated. The volume, layers, folds, and curves can easily add up to one of the most expensive garments a person makes. Subsequently, every little mistake and every piece of wasted fabric comes with a price. My advice for overcoming this stress would be to set aside enough time to practice on less expensive materials.
Now for the tediousness of the work. I read once that the people working on Kate Middleton's wedding dress were required to wash their hands every 20 minutes to preserve the pristine whiteness of the fabric. Thankfully I didn't have to adhere to those standards while working in my own home, but there is something to be said about working on a dress that requires the surrounding area to be clean at all times. I did my best to clear away coffee, tea, pens and pencils, sweep the ground regularly, and hide away any sharp edges that may accidentally tear my tulle. Despite all these efforts, however, my dress still sucked up all the dust bunnies and loose hairs it could find. As my last duty to the dress before I put it away in the garment bag, I lifted every layer of the skirt one by one to lint roll and remove tiny debris. Nothing can hide in a white dress!
There was another time where I had folded tulle for an entire day without stopping and found myself lying on the couch staring into space from exhaustion. I had not even finished half the folding required, and the tulle even seemed to mock me because it's one of the lightest fabrics to work with. I could not fathom how tired I felt and ended up continuing the work the next day. This tulle exhaustion episode is still something that bewilders me about the wedding dress process.
If you are planning on making your own wedding dress though, I can tell you that it truly is satisfying to put it on, get those photos, see your loved ones, and pack it away at the end of the night. Even if it's never to be worn again, I was so proud and grateful for facing and overcoming such a project. I got to spend time cramped up with my mom in my sewing studio, enjoy Dan's smile when he saw me for the first time, sit in a pile of tulle as I ate dinner, and twirl the night away with my loved ones. There were tears of frustration and moments where I was not at my best along the way, but I'm glad I did it!

Photography thanks to Jacqueline James Photography.
(she also did my engagement shoot!)
Video footage thanks to Kenneth Cheung.
Dan's suit thanks to Surmesur.